- Big Damage,
- Long reuse time,
- No spread - possibility to aim to specific spot on enemies, (this will add more variety to gameplay)
I will use assets from Stronghold Creative.
Preparation:
1. Import the model,
2. Create Muzzle Flash socket as we created earlier for Shotgun and Reaper,
3. Create Start and End sockets on the barrel
4. Open FPP hands AnimationBlueprint and add socket "Rail_Socket" as we created earlier for Shotgun and Reaper,
Muzzle Flash
As always we will customize particles that ship with Shooter Example. Find P_Launcher_IH and copy it. Disable fireball and sparks emitters.
Experiment with Lifetime, Size and Size Over Life to get results that you like.
Beam
Take a look at this awesome tutorial created by Alexander Paschall. Just create the same particle and experiment with different settings to get results you like.
The most important thing is Source and Target nodes.
We will use this as well: ParticleSystem'/Game/Effects/ParticleSystems/Weapons/RocketLauncher/Muzzle/P_Launcher_proj.P_Launcher_proj'
I have copied Emitters to get better effect - one have different Beam data.
Impact Effect
We will use this as our base: ParticleSystem'/Game/ExampleContent/Blueprints/P_Impact_Ripple.P_Impact_Ripple'
You will need to change spawn rate to 0 and enable burst as we did earlier with Reaper. I've disabled constant acceleration for sparks as well. Just experiment with different values it's the best way to learn!
On Weapon effect
We will modify P_electricity_arc from Content Examples. You will need to disable light_flickering emitter and work with scale.
1. In Character blueprint when when changing weapon spawn particle attached to the socket.
2. For the sounds find spark_tail_ sounds and create sound cue that will loop and have delay (from 1.5 to 4).
Reload anim and recoil
1. Open MyCharacter blueprint and create Rail_IsReloading bool variable,
2. Navigate to our Animation Blueprint, (HeroFpp_AnimationBlueprint),
3. Create new bool variable Rail_IsReloading,
4. In Event Graph near Set IsTargeting set our bool like this:
5. Go to Anim Graph and near IsTargeting add this:
6. Transform bone settings: Bone: Spine_1, Check Translation and Rotation, For both translation mode should be Additive.
Implementation
Create copy of MyProjectile and name it Rail_Projectile. Delete all components leave only Trail particle. We don't need to use projectile properties here because it will be instant fire. Assign earlier created beam particle to the Trail, and create Blueprint like this:
And here's our custom Rail Hit event.
Create couple of variables in MyCharacter:
- Rail_MinDamage -int,
- Rail_MaxDamage - int,
- Rail_ReloadTime - float,
- Rail_Bullets - int,
- Rail_CurrentFiredCount - int,
- Rail_WeaponEffect - particle system,
- Rail_IsReloading (bool),
Here's finished blueprint for Rail - for now it's really messy.
I will try to explain.
1. Check if we are waiting for fire,
1. Check if we are waiting for fire,
2. Check how many times we have fired. I want to upgrade this variable later in game,
3. If we have bullets play recoil Montage,
4. Spawn Rail_Projectile,
4. Spawn Rail_Projectile,
5. Set Rail Current Fired Count as we just shoot,
6. Play shoot sound,
7. Open sequence (they are useful),
8. Then 0: Spawn our MuzzleFlash particle,
9. Then 0: Set scale of the particle (for me it was really big),
10. Then 1: We are checking how many times we have fired again to do automatic reload,
11. Then 1: Set Waiting for Fire to true so we can't fire while reloading,
12: Then 1: Delay is needed because right after that we will see our reload animation (it looks weird),
13. Then 1: Play sound for reload weapon,
14. Then 1: Open Another Sequence,
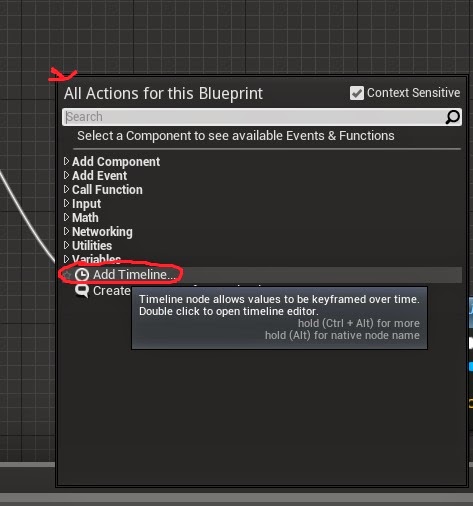
15. Then 1: Then 0: Create new Timeline with scale for Rail Weapon Effect,
16: Then 1: Then 0: Update scale of our particle system,
17: Then 1: Then 1: Set RailIsRealoading variable so Animation Blueprint will know about changing bone rotation,
18: Then 1: Then 1: Delay for Rail Reload Time,
19: Then 1: Then 1: Delay 0.2 seconds so hands get back to soon,
20: Then 1: Then 1: Disable reload animation,
21. Then 1: Then 1: Reset Current Fired Count and Waiting For Fire so we can shoot again,
22: Then 2: Another timeline with scaling down weapon effect and stop anim montage after that.
Take your time and analyze this blueprint. It's easy but hard to read.
Final Effect
In next post I will create machine gun with big recoil like in Quake2 Uzi.


No comments:
Post a Comment